The StepZen Netlify Build Plugin makes it easy to build and deploy your Netlify frontend and your StepZen backend from the same code base. Since the build plugin runs prior to your Netlify build, data updated from your StepZen GraphQL API is available to your site at build time.
This topic describes how to install and configure the plugin.
For a complete, step-by-step walkthrough showing how to build a Jamstack site using the StepZen Neltify Build Plugin, check out our tutorial on Netlify's blog.
Install the Plugin
Follow the steps below to install the plugin:
-
Ensure you already have a site deployed to Netlify. Netlify supports code stored in GitHub, GitLab, and Bitbucket repositories.
-
Navigate to Netlify and click the New site from git button in your Netlify dashboard. Follow the steps as needed to support your site deployment and/or static site generator.
-
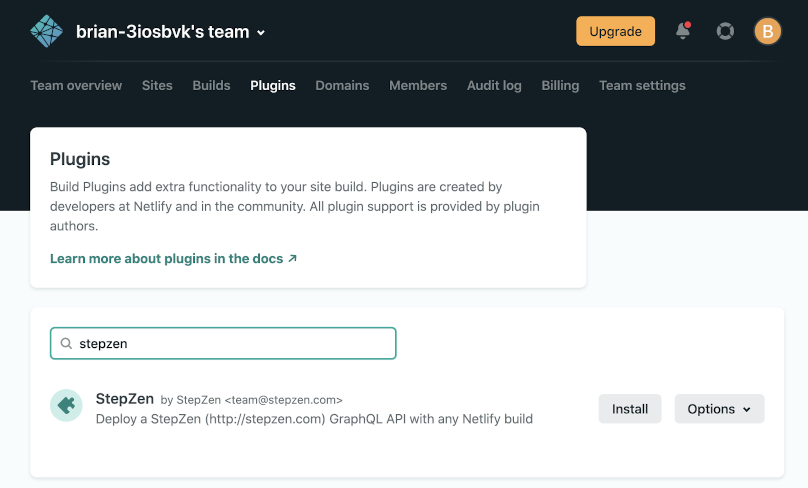
Navigate to the Plugins tab in the dashboard when the initial deployment is complete, and click on Go to Plugins Directory.
-
Search for "StepZen" and then click the Install button.
-
Choose the site you just created, when asked which site you want to install the plugin on.
-
Navigate to your site's Netlify dashboard and choose Site Settings > Build and Deploy > Environment. The plugin requires you to add and configure the following variables:
STEPZEN_ACCOUNT: Account name from your StepZen account.STEPZEN_ADMIN_KEY: Admin key from your StepZen account.STEPZEN_NAME: Endpoint name to use for your StepZen API. The plugin assumes that the default folder name isnetlifybut you can override the default by modifying theSTEPZEN_FOLDERenvironment variable. For example, if you deployed an API asnetlify/my-graphql-api, the value ofSTEPZEN_NAMEmust be set tomy-graphql-api. In this case,STEPZEN_FOLDERis not required as it uses the default folder name value.
-
(Optional) If want to call your StepZen API from within Netlify functions or during the build of your site, set the
STEPZEN_API_KEYenvironment variable to the value of your API key from your StepZen dashboard. -
Click Save. Your plugin is configured and any changes you make to the StepZen schema, will be deployed whenever a Netlify build is triggered by checking code into our GitHub repository.